VectorCraft tutorial: create and export your first SVG
Build a simple two-shape graphic on a blank artboard, save an editable original, and check the SVG you export.
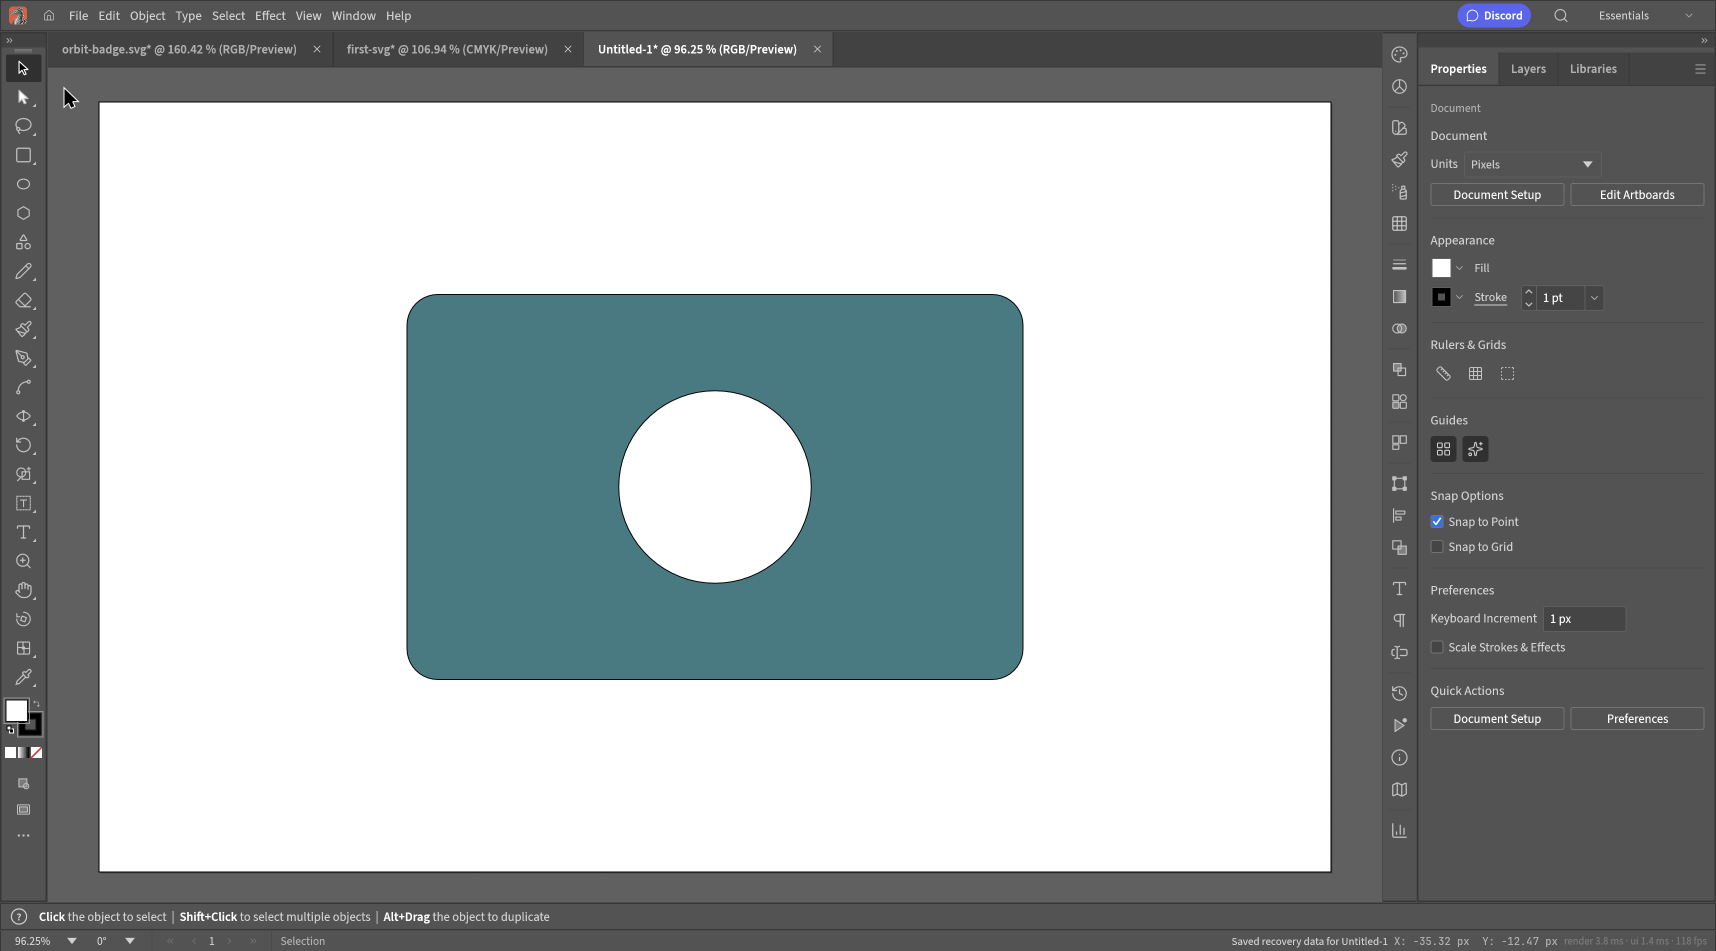
Your first vector drawing does not need a pen-tool marathon. A rounded rectangle and a circle are enough to learn the parts that matter: the artboard, object selection, fill, and export.
We made the graphic shown above from a blank document in VectorCraft Online. The rectangle is teal; the circle is white. Both remain vector geometry in the downloaded SVG.
Open VectorCraft Online. You can also download our finished SVG and use it as a reference.
Start with a web artboard
Choose File > New. In the New Document dialog, select Web, then Web 1280×800. Click Create.
Using a preset avoids an early distraction with units and orientation. The preset gives you an RGB document with pixel dimensions, which is a sensible starting point for a graphic intended for a screen. It is not a specification for a print job.
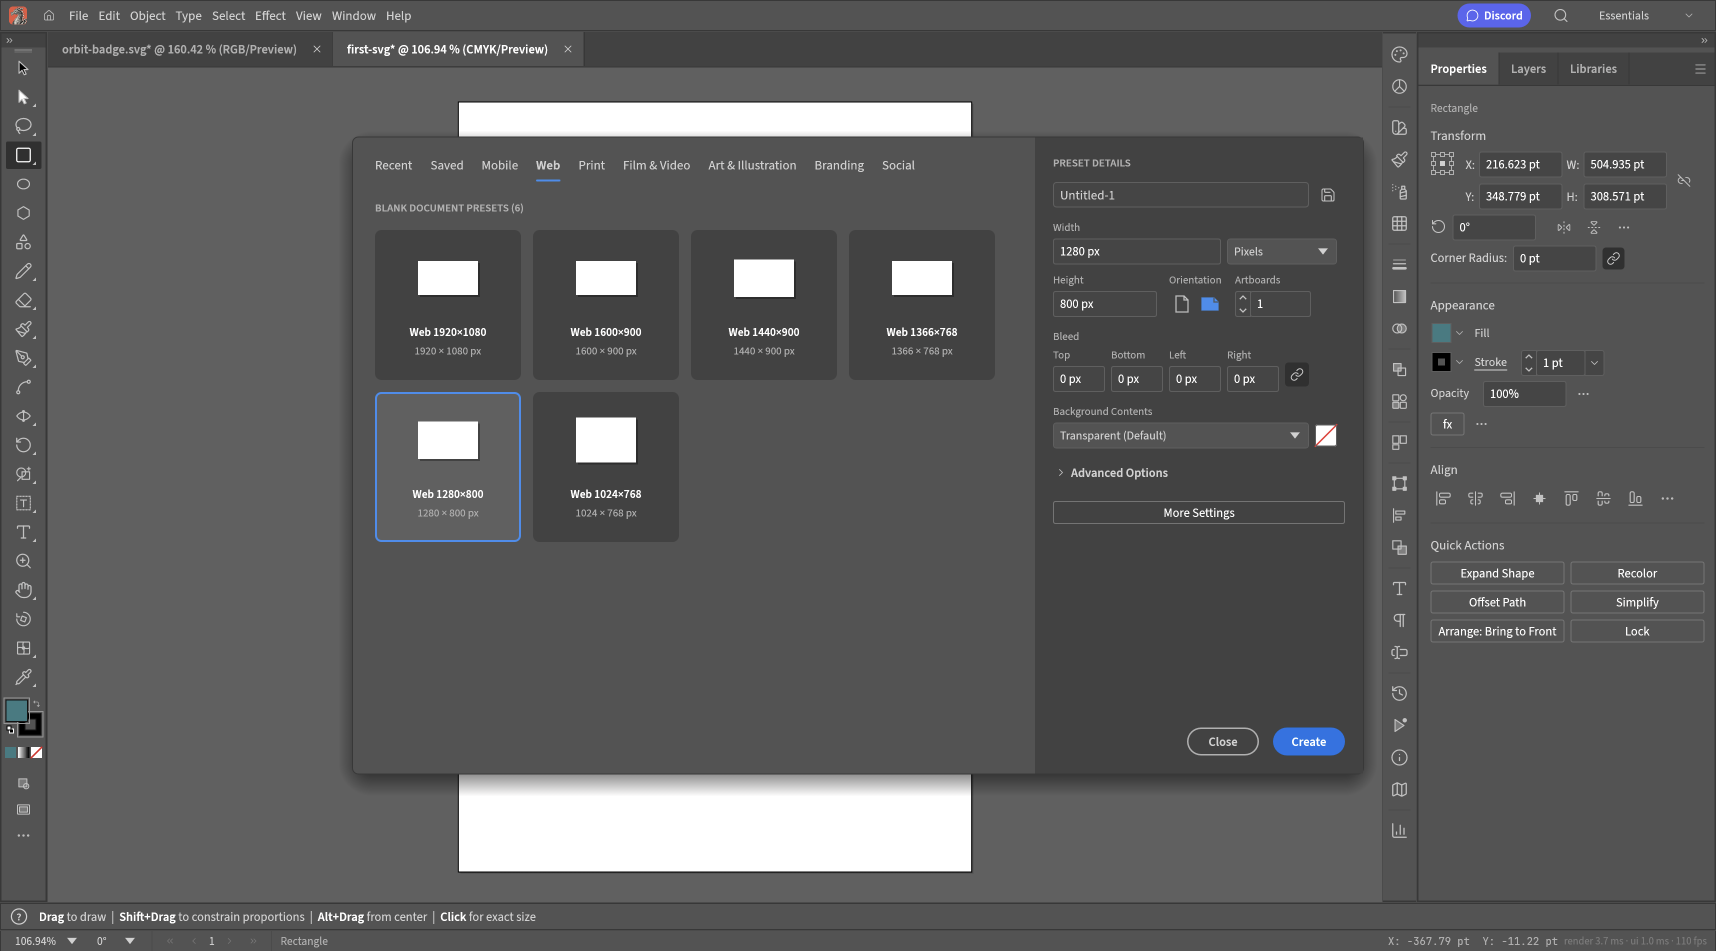
Our starting preset: Web 1280×800. The blank artboard sets the bounds of the exported graphic.
The white rectangle in the workspace is the artboard. Objects can sit outside it, but an export using artboards may crop them. Keep this little exercise inside the page.
Add the background shape
Choose the Rectangle tool in the left toolbar. Click on the artboard to enter dimensions, or drag to sketch a rectangle. We used 640 × 400 px.
Select the rectangle and look at Properties > Transform. Width and height describe the object, not the whole artboard. The reference-point control determines how position values relate to the object. For our example, we used its center reference and set X to 640 and Y to 400, placing it at the artboard's center.
Set Corner Radius to 32 px. Under Appearance, open Fill, switch to the color controls, and enter 397B82 in the hexadecimal field. Confirm the value.
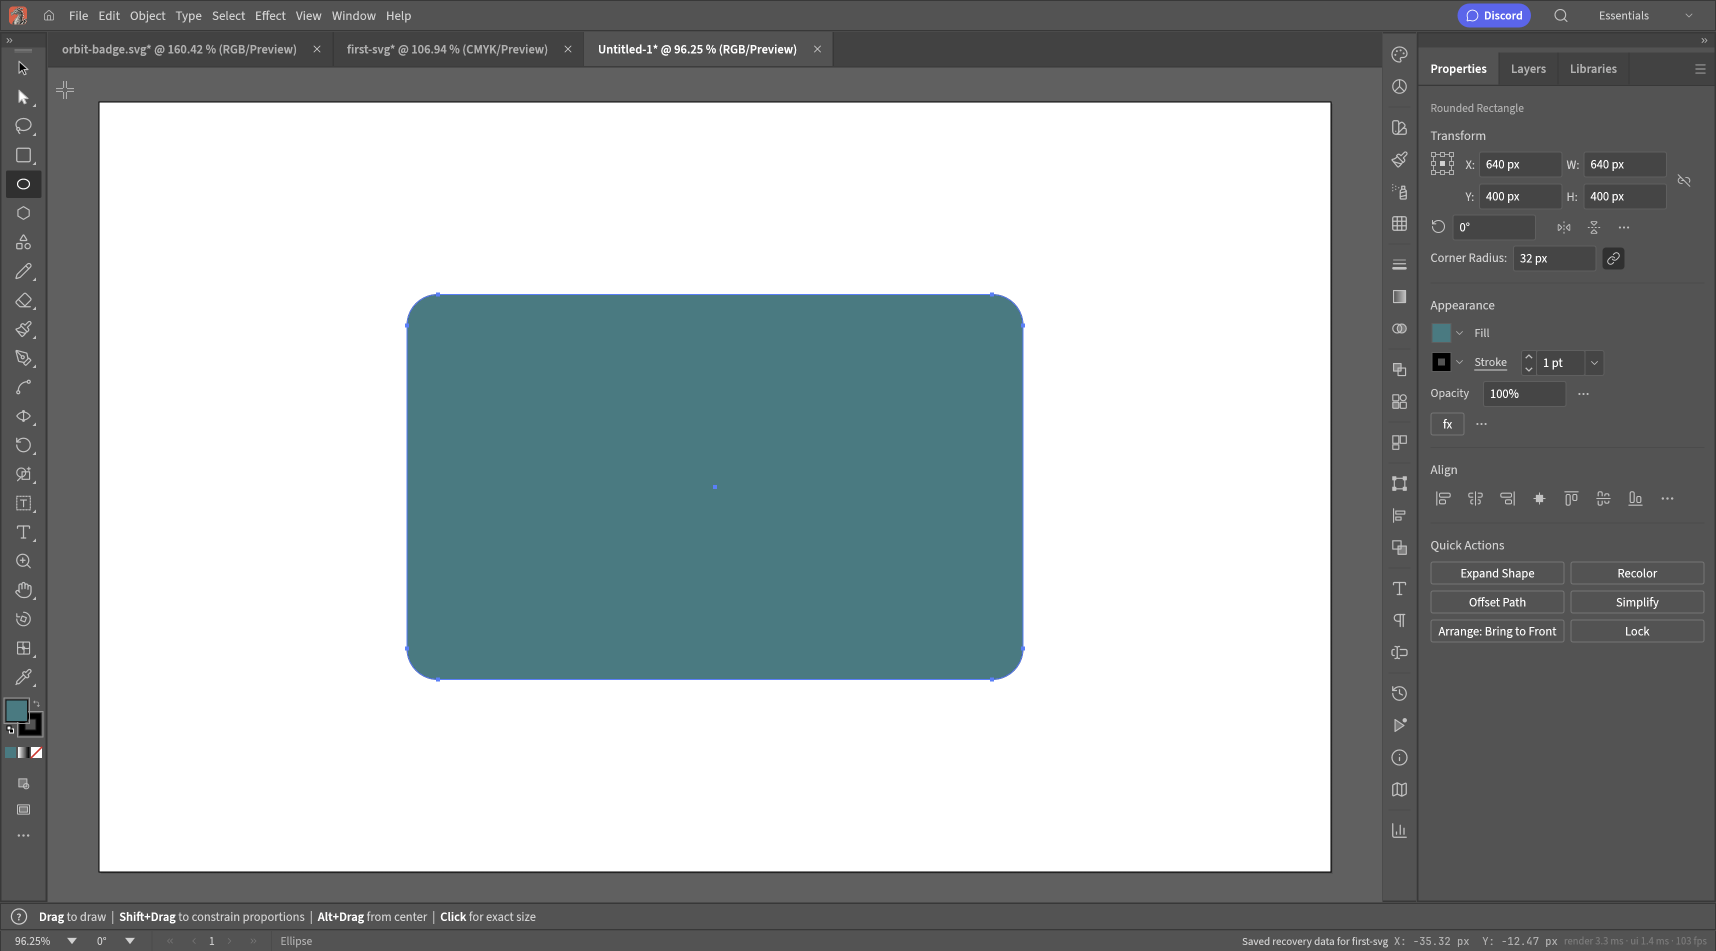
The rounded rectangle is one object. Its dimensions and corner radius can be adjusted after drawing.
Our captured example retains the default thin stroke. If your version does too, you can keep it for this exercise or set Stroke to none. Do not confuse a shape's stroke with the selection outline: the selection outline is an editing aid and does not export.
Put a circle on top
Choose the Ellipse tool. Click on the artboard and enter the same width and height, 200 px, in the Ellipse dialog. Equal dimensions make a circle.
Use Selection to position it over the rounded rectangle. With the circle selected, change its Fill to white. Check the Properties panel before changing color; it should describe the ellipse rather than the background rectangle.
In our finished graphic, the circle is centered over the rectangle. It is a separate white object. We did not cut a hole in the teal shape. That distinction becomes useful when you want to move the circle or change the two colors independently.
If you select the wrong object, click an empty part of the workspace and try again. A small overlap is easier to understand in Layers than by repeatedly clicking the same patch of canvas.
Keep an editable original
Use File > Save As to save a .vectorcraft working document to your device. Save again after a meaningful change.
The working file is the one to return to when you want to adjust shapes or add more artwork. SVG is the exchange file for a browser or another tool. Exporting an SVG does not mean every editor-specific feature has been preserved for your next editing session.
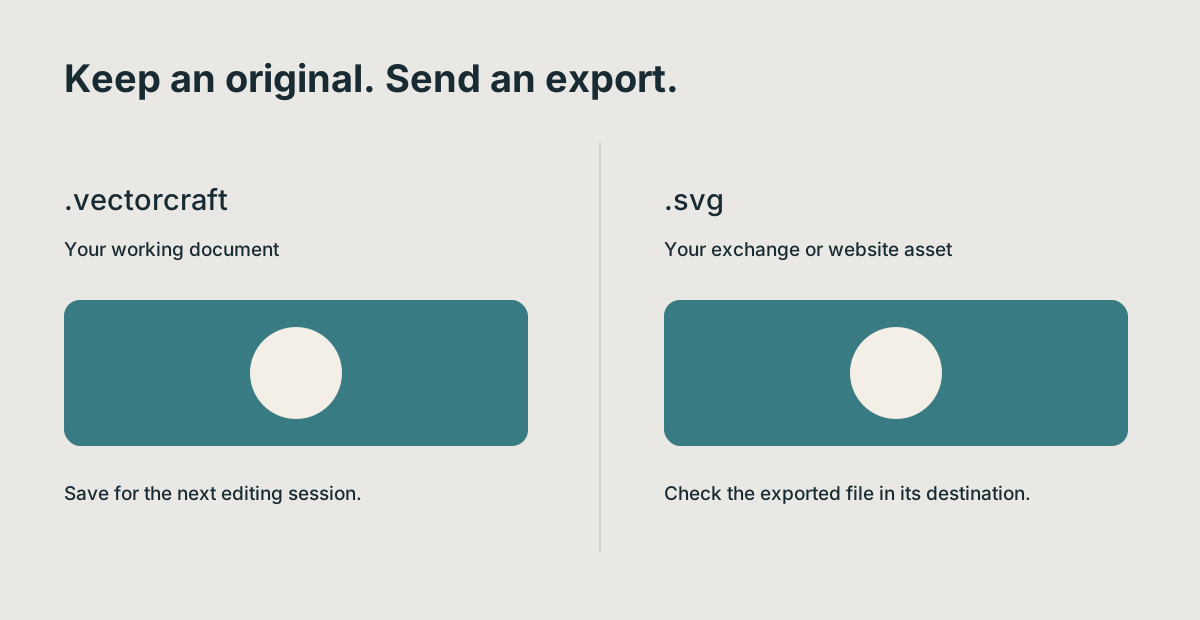
Keep the working document and the exported asset. They answer different questions: can I keep editing, and does the destination display it correctly?
A recovery prompt is useful after an interrupted session, but it is not a replacement for a file you have saved yourself. Before closing the tab, know where your original went.
Export the graphic as SVG
Choose File > Export > Export As SVG. In the options dialog, keep Use Artboards enabled for this single-artboard example, then confirm.
Now inspect the download rather than the canvas. Open it in a browser and look for the rounded corners, the white circle and the correct page proportions. A browser can show transparent parts of an SVG on a white background; that does not prove the file contains a white background object.
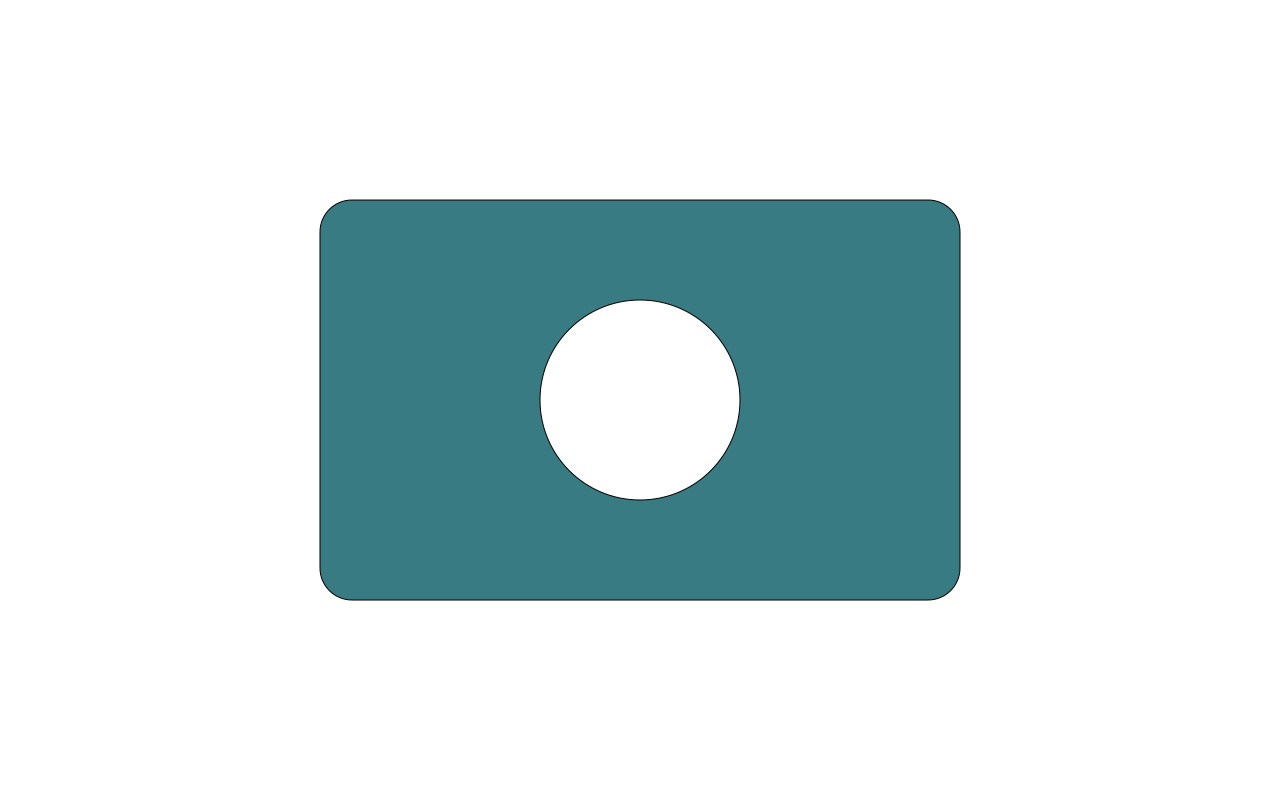
Our exported file has a 1280 × 800 viewBox and two vector paths. It has no text, so this exercise sidesteps font dependencies. The empty space around the graphic is part of the chosen artboard, not a mysterious margin introduced by the browser.
If the graphic is too small for its intended use, decide whether you need a tighter artboard or a different layout. Enlarging an object until it hits the page edges is not always the right answer.
Try one useful change next
Reopen the working document, make the circle smaller, and export a second SVG. Compare the two downloads. That single change teaches more than clicking through every tool in the toolbar.
When you are ready to work on someone else's file, follow the existing-SVG editing walkthrough. For a deeper look at the color controls and common mistakes, see changing SVG colors without Illustrator.